Friday, January 31, 2014

Alteration Help? And More Vintage Love!

I found these totally fabulous vintage inspired high waisted trousers at Forever 21. They only had small, medium, and large so I ordered the small... and they are way too big in the waist, by maybe 3-4". I really want to keep these and alter them, but I'm not sure what the best plan would be. There are seams in the side pockets, a side zipper, and two welt pockets in the back. Does anyone have any suggestions?

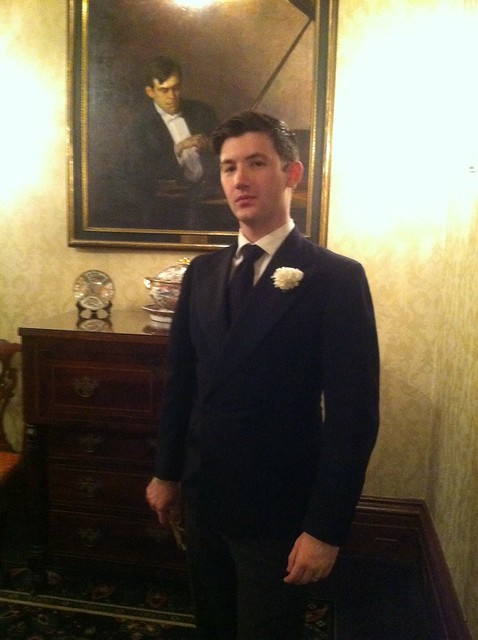
Other than that, I LOVE this style and I'm determined to replace all of my modern, hip hugging jeans and pants with vintage styles. They are SO COMFY and flattering. I don't know how we ever got to the place we're at with modern pants... :-P

Photo on 2014-01-31 at 15.34
Photo on 2014-01-31 at 15.35 #3

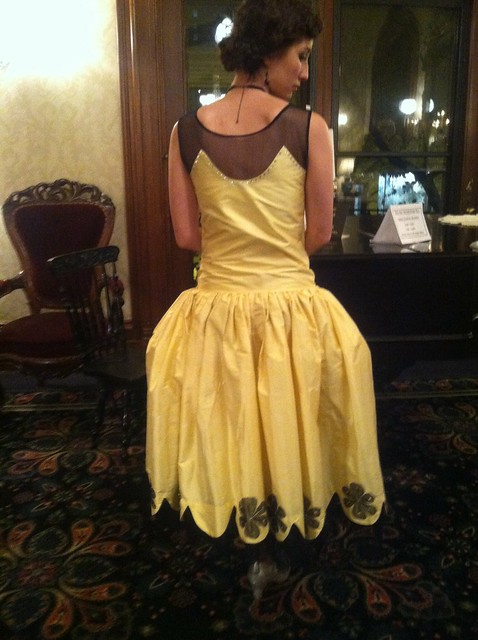
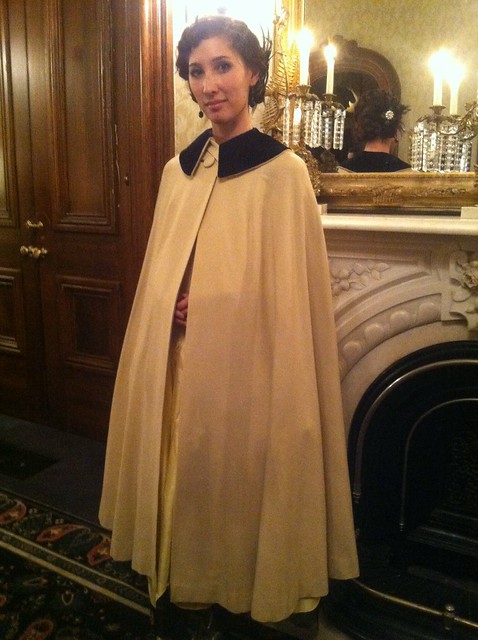
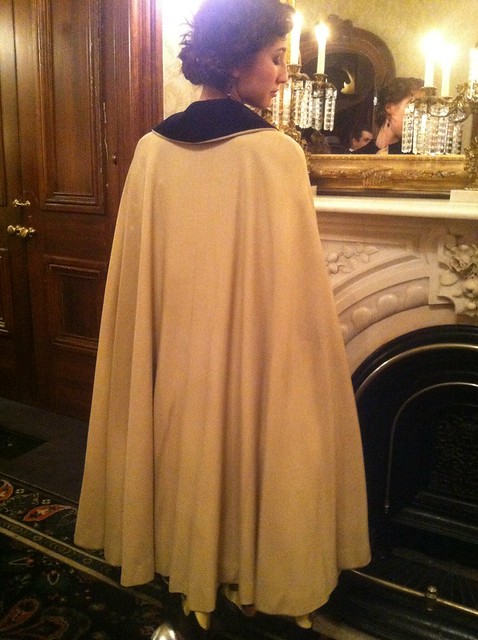
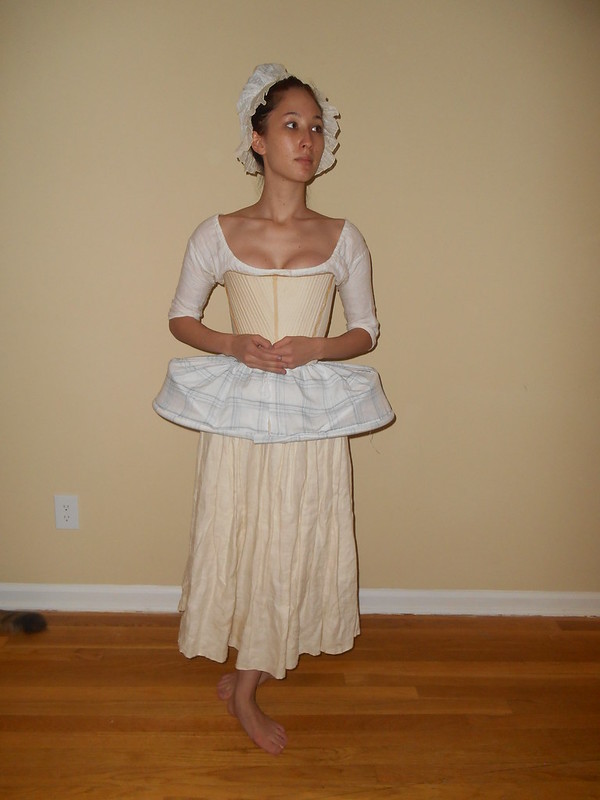
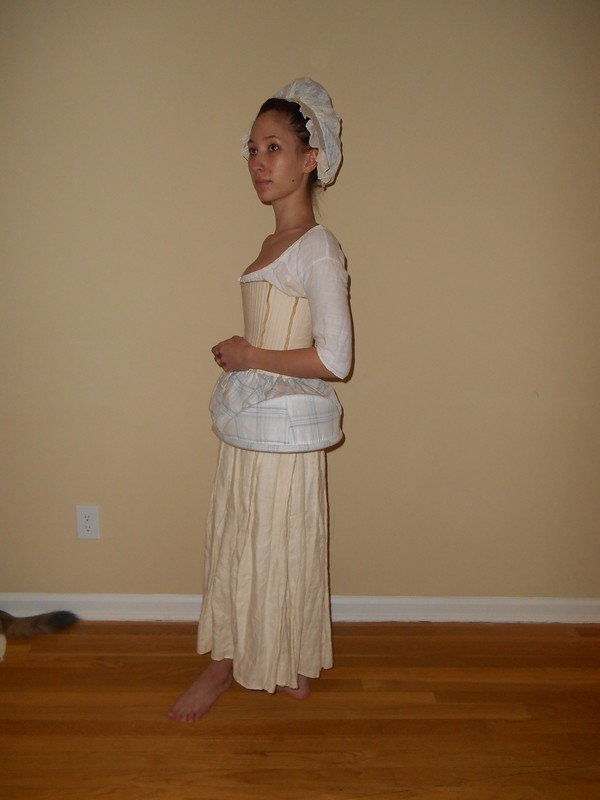
I pinned them in back to show you how much needs to be taken in...
Photo on 2014-01-31 at 15.39

Tuesday, January 28, 2014

Hoop, hoop, hurray! 1770s Oval Cane Hoops


Here's some pictures of the hoops I finished a couple of days ago for my Felicity Christmas sack gown.

I waffled for a while about what style of skirt support to make (pocket hoops vs. full oval) and decided on these because they're more unusual in the living history/costuming circle, but quite prevalent in extant examples. Mine is a pretty modest size, although I can't get through the bathroom doorway in my apartment hehe!

I must give thanks to Nicole, who gave me the cane and went over construction tips with me. She wrote a great article about 18th century skirt supports for Your Wardrobe Unlock'd. I don't have an account, but you should check it out! :) The cross barred linen is from Burnley and Trowbridge. Right now I just have some cotton string in the waist, but I will be replacing it with linen tape once I can get back to B&T.

First, reigning the cane into shape with cotton string after getting it wet in hot water in the bathtub. I didn't let it soak, just swished it around in the water until it became more pliable. I let the cane dry for a little less than 24 hours.

1606964_10202030732423470_1545481286_n

The cane got covered in strips of linen. Then I pretty much draped and fiddled around with the rest of the linen, pinning things together and standing in the mirror until I got it right. Nicole explains it much better in her excellent article!

I am wearing a shift, stays, and under-petticoat under the hoops.


Ugh, I hate this cap. It's being replaced... Almost done with the new cap, out of the same fabric.


Everything is whipped together, literally!


Inside of the hoops. I am totally tickled by how much my hoops look like this extant! Except I was way more meticulous about finishing my edges heh... Obviously my hoop is untied and the extant is tied.


Extant hoops, seen here: http://theschoolofhistoricaldress.org.uk/18thc-course.html

Monday, January 27, 2014

Buy This Gown?!


Completely hand sewn of cotton/silk semi sheer striped fabric. Bust 33", 29" UNDERbust. $200


Sunday, January 26, 2014

1920s Dreamin'

I have not been able to get vintage clothes--particularly 20s and 30s--out of my head! I must focus on my paper for the millinery conference and the Felicity sack gown for the "birthday party" at the conference, but after that I will be entirely immersing myself in 20s stuff!

The first thing is something I will be trying to slip in for Military Through the Ages (which is admittedly the day before the conference stats), but it seems so simple that I'll be able to get it done...

I got wool flannel in cream and navy for a middy blouse and pleated skirt.


And I just got some cotton/wool challis to do a version of this:


So excite!

Tuesday, January 21, 2014

A Quick and Dirty 20s Hair Tutorial and Samantha's Historical Hair Secrets


The story begins back in 8th grade, the day of the graduation dance. 

I had found an adorable 20s-esque dress to wear, and I wanted my hair to be appropriately finger waved. I told this to the hairdresser at the beauty school and she looked like she was going to cry. You see, I had no idea, at 13 years old, the kind of time and energy it takes to do proper finger waves. After a few failed attempts (seriously, I can't believe I tortured that poor student stylist), the girl pulled out something I had never seen before: a waving iron. 

In a few minutes, there were some waves in my hair, and with a couple well placed and pinned curls and the gift of a flower pin (yes, the stylist felt so bad she couldn't give me the hair I wanted that she gave me a flower pin as consolation) I had pretty darn convincing 20s hair. 

That waving iron has stuck with me ever since, and when I started Civil War reenacting, I bought one to give texture and volume to my hair so that I could more easily style it (see here). 

Well, almost 10 years later (whoa!) I got to do a 1920s event, so the trusty waving iron came out.

Will this give you perfect, immaculate finger waves?

No.

Will it take a tiny fraction of the time it would have taken you to do perfect, immaculate finger waves but still create a reasonable 1920s style even with long hair?

Yes!

Without further ado, here's my tutorial!

1. Curl a couple pieces of hair with a TINY curling iron. I think mine is 1/2" barrel? The TINY is important. TINY curling irons will also give you great Regency curls without having to use rags or curlers. So invest in one! It's helpful for a lot of periods, like the waving iron. I have bangs, so I just curled my bangs.


2. Divide your hair in half, top half and bottom half. I put MORE hair in the bottom and LESS on the top. This will be explained later.


3. Braid the bottom half and wind it into a bun at the base of your scull. Try to make the bun more oblong than round. This will also be explained later.


4. Part your hair to the side. And I mean really to the side.


5. Waving iron time! Hopefully you plugged this in before you started your hair because it needs to warm up. I put mine on the hottest setting because I have THICK, STRAIGHT, LONG hair. I have a Bedhead brand, but you can research other brands. This one was only $20 from Target though. Like the TINY curling iron, go for smaller waves in your waving iron (i.e. avoid the word "jumbo"). I think mine has 0.75" waves.

Remember when I said less hair in the top half of your hair sections? That's so you have less to wave! ;-)
  

How to use your waving iron:

Unless your hair is only 3 inches long, you will have to use the waving iron a couple times on the same piece of hair, moving down to wave the entire length. Starting at the top, clamp and hold for like... 15 seconds? More? Less? I wasn't paying attention... You'll know how much your hair needs. Then move the waving iron down, RECLAMPING the last "hill" you made with the first set of waves you made. This is really important to make continuous waves in a piece of hair. 

HOT TIP: You DO NOT need to wave all of the hair in the side sections. I only waved the very top layer of my hair. If straight hair shows through, you can wave that, but I didn't need to. Only the top layer. 
 

For this style, you don't have to wave the entire length of hair, only to wear your hair hits your jawline.


7. Brush out and arrange the curls you did at the beginning. It's easier to do this now.


8. Braid both sides of your hair, starting where the waves stop. Don't braid too tightly at the top. You want to retain the volume in the waved sections. I use the tiny plastic rubber bands.


9. Take one braid and loop it forward. Wind the rest of the braid into a bun that touches/melds with the other bun you made at the very back of your head. If the back bun is more oblong shape, it will be easier for all the buns to meet and look more continuous. Does that make any sense?
 

10. Wind and pin the other braid. Pin the bejeezus out of everything. 

Here's how the back of my hair looks when it's all been looped, wound, and bunned.


11. Do some finally smoothing, pinning, and hair-spraying of any fly away hairs and other sticky-out-y bits. 

Hopefully you have something like this when you're done!
    

12. Accessorize! A bandeau, a feather, a sparkly bit...
 

Sunday, January 19, 2014

A 1920s Robe de Style


First I need to say that I am thoroughly smitten with 1920s and 30s clothing now (40s is pretty good too!). I want to make ALL THE VINTAGE THINGS, but there's a lot of 18th century stuff that needs to get done first! It's so fun and beautiful to wear, and it's more "acceptable" to wear around than 18th or 19th century clothes... ;-) 

I fully blame Nicole for all of this. She went last year to the Art Deco Society of Virginia's Jazz Age Preservation Ball, and as this year's event drew nearer, I started to get the bug for a robe de style. Luckily I was able to con Mike into letting us go, since he had a 1930s suit already (the ball is open to anything 20s-30s). We--Nicole, her husband, Mike and I-- made a lovely day out of it by hitting a few antique and vintage stores in Richmond before dinner at Can Can Brasserie (perfect ambience for the evening and really delicious food). Definitely need to go back for more leisurely shopping, although I did pick up a darling 1930s cape on sale that only needs some repairs to the lining. It was perfect since my coat wouldn't close over the panniers!


In designing my dress, I looked at probably thousands of images of robes de style. There were a lot of directions one could go in, but I was looking for something that could be done in a relatively short amount of time and a small budget (read: no copious amounts of beading or expensive fabrics and trims). I used the yellow silk taffeta I mentioned in my last post, so all I had to buy was a couple yards of silk tulle and some Swarovski rhinestones and Czech glass tube beads. 

For the bodice neckline, I was inspired by this dress . The scalloped hem shows up on tons of dresses from this period. The large flowers were inspired by dresses like this one. I really wanted to do the tulle on the bottom of the skirt, since you see that in a bunch of originals too, like this one. It has small, silly panniers underneath made of plain white cotton and plastic boning. The dress closes on the side with a snap placket, as per originals

I am really quite happy with how it turned out. There are things I want to do before I wear it again, like put more flower appliques on the rest of the scallops. This time I only did every other one so that I could ensure I got it done in time. I'd also like to replace the 3-D floppy flower on the bodice with an appliqued and beaded one like the skirt flowers.

And oh yes--there's a hair tutorial coming, probably in a couple days. But first, enjoy the dress! :-)


Escar-what?


Handsome husband is handsome...
  

My cape!
  

The ballroom:

Wednesday, January 15, 2014

A Few 1787-1790 Jacket Pics

Pictures snagged from other ball attendees. I am sad and frustrated because I have so many ideas for finishing this outfit, but I don't know when I'll get around to doing it... I have two (three, if I make new stays) really big projects that MUST be done for the Millinery Conference. *sigh* Someday...

1551629_10202383940751516_1048465210_n

Can you tell I'm being all self-conscious about the ugly waistcoat/under bodice? :-P
1604924_10202383848789217_474653469_n
1609711_10202383941831543_272919688_n

Monday, January 13, 2014

Blog Post Backlog...

Ughhh... I am about to go CRAZY from all the projects I need to photograph and post about. I am worried about losing all my lovely friends and readers because of not posting enough!

This past weekend was a lovely (belated) 12th Night party which I wore my 1790s jacket to. The jacket, however, is NOT FINISHED because I managed to come down with a flu-like thing that took me out of commission for a good 3 days, and really left me unmotivated to do much sewing. The jacket itself is done, but the under bodice/waistcoat is not. So I'll show you the precious few pictures I had taken of the back until I finish it properly!

There's also the "shel'd" print 18th c gown and discussion about "cheap" cotton prints that has been languishing... I feel like such a terrible blogger!!

Anyway, here's some pictures of me doing 1790s hair, a couple of the jacket pics. My friend Emma also took a few, so I might post those when she shares them, if the jacket doesn't look too horribly unfinished!

Beginnings of 1790s hair: slept all night in tiny (1/2" diameter) curlers, then my sister and I teased the heck out of it.

1609767_10201949412070512_821308209_n

Then I pinned it back. The bottom 3rd of my hair was left straight and looped up, then pinned under the curls in the back.
1480516_10201950768344418_1616153379_n

Mike and I were both dressed in late 1780s/ early 1790s. We made quite a pair!

1508999_10101672569464388_1144201781_n

1517677_10201950687782404_1822914612_n

My sister came to the party with us because my family was visiting this week. I think she had a good time! She wore my "new" floral print gown that I wore at work a lot, and haven't taken any pictures of... Oi!
1530352_10201950780104712_1681014412_n

My family, being awesome:
1545066_10201960351823999_1557395668_n